How to Apply the Correct Amount of Torque onto your Caps
A cap is properly sealed when the contents within the container cannot leak out and substances outside of the container cannot enter in. In addition, the end user must be able to open the container with a reasonable amount of effort; it should not be too difficult to open.
Throughout our lives, we have all experienced opening and closing caps thousands of times. From our experiences, we have a general idea of when a cap seems properly tightened and when a cap seems too tight or too loose. Many manufactures rely on this intuition when determining how tight their caps should be. If your caps seem appropriately tight, and you have not had issues with leaking bottles, then it is usually fine to continue to use an intuitive approach when capping your bottles.
For various reasons, such as internal quality controls, or industry or government regulations, many bottlers must validate the amount of torque they are applying to their caps. When this is the case, the first step in the process is to determine how much torque your cap requires. The best place to start is with the manufacturer of your caps.
Application Torque Specifications for Caps & Closures
Your cap supplier should be able to provide you with the application torque specification that is definitive for your actual cap. If your cap supplier is unable to provide you with the actual application torque specification that is specific to your cap, you can use a general torque guideline chart such as the chart shown to the right. It is very important to note that general torque guideline charts are just that; general. They may not be accurate for your particular cap. For example, Nalgene, a well-known supplier of caps and containers, specifies an application torque range of 27 - 33 inch pounds for their 38-430 cap. If you look at the general torque guideline chart to the right, you will see that the general guideline for a 38mm cap is 17 – 26 inch pounds. In this instance, and many others, the general torque guideline would be incorrect to use. General torque guidelines should not be viewed as a source of definitive information, instead, they should be viewed as a guide and used only when the specific application torque specification for your cap is unavailable.
Application torque specifications are always expressed as a range of acceptable outcomes. Using our example for a Nalgene 38-430 cap, the application torque specification is 27 - 33 inch pounds. If the cap is applied with an amount of torque within this range, the cap will be properly sealed onto the bottle.
Cap Size (mm) |
Application Torque Range (inch pounds) |
| 10 | 4-8 |
| 13 | 5-9 |
| 15 | 5-9 |
| 18 | 7-10 |
| 20 | 8-12 |
| 22 | 9-14 |
| 24 | 10-18 |
| 28 | 12-21 |
| 33 | 15-25 |
| 38 | 17-26 |
| 43 | 17-27 |
| 48 | 19-30 |
| 53 | 21-36 |
| 58 | 23-40 |
| 63 | 24-43 |
| 70 | 28-50 |
| 83 | 32-60 |
| 89 | 40-70 |
| 110 | 45-70 |
The Industry Standard Method for Measuring and Validating the Torque You are Applying to Your Caps
Setting up a capping machine to apply the correct amount of torque onto a cap is not quite as straightforward as most people imagine. Capping machines are not like other tools, where you can simply set, or dial in, the torque you want to apply. (If you are interested in learning why, please click here.) Because of this, an alternative method of measuring the torque applied to caps was required. The Method of Test for Closure Torque was developed by the Plastic Bottle Institute of the Society of the Plastics Industry (Technical Bulletin PBI 7). Their objective was to produce a common test procedure that could be used by both the producers and users of caps and bottles.
The basic principle behind the Method of Test for Closure Torque, is that there exists a steady relationship, or correlation, between the amount of torque that is applied to a cap, and the amount of torque that is required to remove the cap. You will see this correlation clearly in the example below, where we show you how to adjust the torque on your capping machine to properly tighten your caps. For instance, when we apply approximately 17 inch pounds of torque onto the cap, you will see that the cap consistently removes with approximately 12.5 inch pounds of torque. The test method uses the correlation between application torque and removal torque to calibrate a capping machine.
A Bottle Cap Torque Tester is Required
A bottle cap torque tester is used throughout the procedure to determine the correlation between the specified application torque range and removal torque range for your cap. It is also used to validate your capping machine by measuring the removal torque of the caps applied by the capping machine.
When performing the procedure, we are going to be clamping bottles into the bottle cap torque tester and then applying and removing the caps by hand. Below are some important instructions to follow:

- When you are applying or removing a cap from a bottle that is clamped into a bottle cap torque tester, you must do so very slowly and at an even rate. Be consistent with your approach on every trial. Try not to be slow and steady on one trial and then noticeably faster on the next. Applying or removing caps quickly or erratically will produce inaccurate results.
- Be sure to always use new caps and bottles when performing your tests. Reusing caps and bottles will produce inaccurate results.
- Always perform torque testing with the containers filled with their usual contents.
- Avoid spillage of product on the threads of the bottle or closure as this can lead to inaccurate results.
How to Adjust the Torque of Your Capping Machine to Ensure You are Applying the Correct Amount of Torque to Your Caps
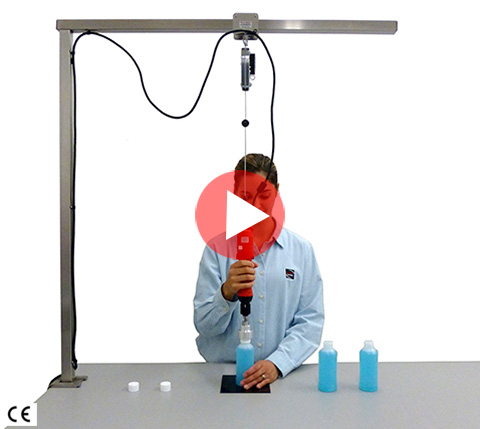
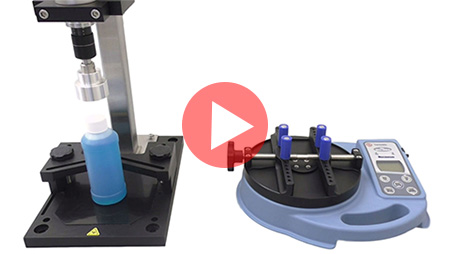
After you have obtained the application torque specification of your cap, it is time to adjust the torque output of your capping machine so it is applying the correct amount of torque onto your caps. An example of the proper procedure is explained below. You can also watch each of these steps performed in the accompanying video tutorial located in the right hand margin.
In our example, we are going to calibrate a Kinex SA-2000 Benchtop Capping Machine to properly tighten a 28mm cap onto an 8 ounce modern round bottle. We have contacted the manufacturer of the cap and bottle and they told us that the application torque specification for this cap and bottle combination is 13.0 – 17.0 inch pounds.
Now that we have the specified application torque range, we will use a Mecmesin Tornado bottle cap torque tester to determine the correlating removal torque range. We will start at the low end of the specified application torque range, 13.0 inch pounds.
Clamp a bottle into the bottle cap torque tester. By hand, apply the cap to the bottle slowly and evenly. As you tighten the cap you will notice that the digital readout on the torque tester is displaying the amount of torque you are applying to the cap. Continue to tighten the cap until the torque tester indicates that you have applied 13.0 inch lbs. of torque. It is ok if you miss exactly 13.0 inch pounds when you apply the cap. A reading such as 13.1 inch pounds on the high side or 12.9 inch pounds on the low side is sufficiently accurate to help us find our correlations. Record this value on a sheet of paper as demonstrated in the video.
Next, unscrew the cap from the bottle slowly and steadily. Continue to unscrew the cap until you feel it break free, or release. When the cap breaks free, the readout on the torque tester will provide you with the removal torque value. As you will see in the accompanying video, on our first trial the cap removed at 8.6 inch lbs. Record this value on a sheet of paper as shown in the video.
It is recommended that you repeat this step for ten trials. We perform only three trials in the video so the video would not become too long, in addition, the correlation between the application torque of the cap and removal torque of the cap was clearly demonstrated with only three trials. As you will see in the video, our 2nd trial resulted in a removal torque of 8.8 inch pounds and our 3rd trial also resulted in a removal torque of 8.8 inch pounds. So, the correlation revealed itself quickly. When we applied approximately 13 inch pounds of torque onto the cap, the resulting removal torque was approximately 8.6 – 8.8 inch pounds. We will choose 8.6 inch pounds as the low end of our removal torque range; since it is a valid reading, it must be included within our range.
We then perform the same procedure for the high end of the application torque specification, 17.0 inch lbs. On the first trial in our video you will see that when we applied 17.0 inch pounds of torque onto the cap it removed at 12.5 inch pounds of torque. On the second trial the cap again removed at 12.5 inch pounds of torque and on the third trial it once again removed at 12.5 inch pounds. So, this correlation is remarkably consistent and obvious, when we apply approximately 17 inch pounds of torque onto the cap, the removal torque of the cap is approximately 12.5 inch pounds.
These correlations allow us to define our removal torque specification. An application torque range of 13.0 – 17.0 inch pounds correlates to a removal torque range of 8.6 – 12.5 inch pounds.
Now that we have determined our removal torque range, we can begin calibrating the capping machine. We will adjust the torque output on the capping machine until the caps that we tighten with the capping machine remove within the range of 8.6 – 12.5 inch pounds. If the caps tightened by the capping machine remove within this range, then we know we are applying between 13 and 17 inch pounds of torque onto the caps, just as the cap manufacturer has recommended.
In the video you will see that we start with the torque adjustment dial on the capping machine set to zero on the torque scale. We then tighten our first cap with the capping machine. After the cap has been tightened, we then place the capped bottle into the bottle cap torque tester. We then slowly and steadily remove the cap from the container to measure the removal torque. On our first trial we found that the removal torque reading was 2.74 inch pounds. This is far below our target removal torque range of 8.6 - 12.5 inch pounds, so this tells us that we must increase the torque output of the capping machine. As you will see in the video, we continue to adjust the torque output of the capping machine until the removal torque of the caps tightened by the bottle capping machine always fall within our specified removal torque range of 8.6 – 12.5 inch pounds. Our capping machine is now properly calibrated.
Check Your Results
Hopefully you found success after going through the procedure and are now tightening your caps to the correct torque specification. If not, or if you have any questions about correctly tightening your caps, please do not hesitate to reach out to us for help and guidance.
Capping Machines that Provide Excellent Repeatable Torque Accuracy
If you need a capping machine that will provide excellent repeatable torque accuracy, we have many to choose from. A list of capping machines that feature excellent torque accuracy are shown below. If you would like help choosing the best capping machine for your particular situation, please contact us and we will be happy to assist you.
Relia-Cap®
Automatic Capping Machine
The perfect choice for bottlers that require the speed and productivity of an automatic capping machine and great torque accuracy. Learn more...

SA™
Capping Machine
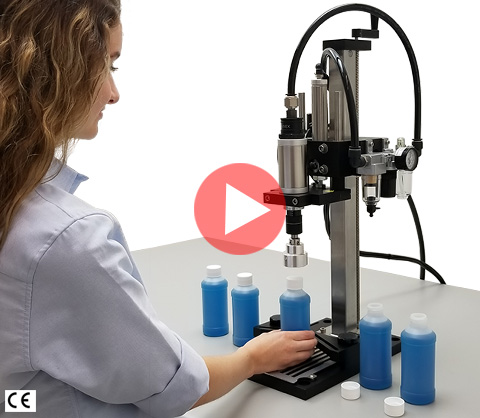
A great choice for medium scale bottlers. The SA™ combines excellent torque accuracy with an ergonomic design that makes capping effortless. Learn more...
PumpCap
Capping Machines
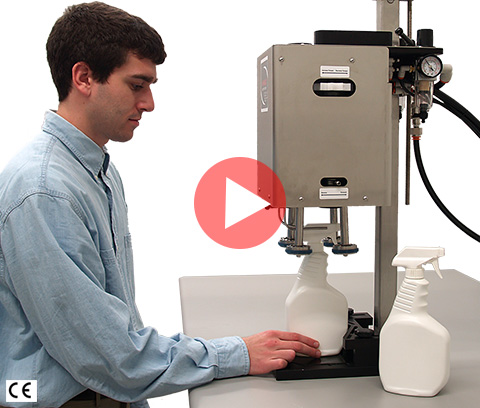
The PumpCap tightens all styles of caps, from standard closures to trigger spray caps with outstanding torque accuracy. Learn more...
PS
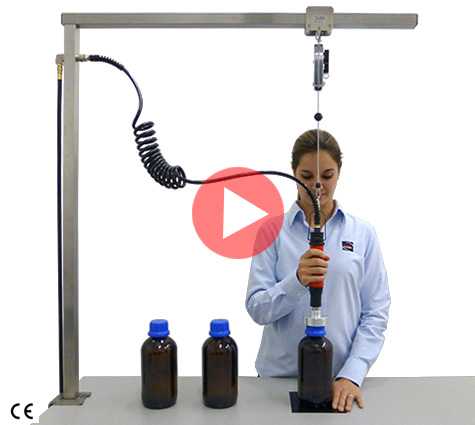
Pneumatic Bottle Capper
A tremendously flexible and durable hand-held capping machine that is quiet and comfortable to use and provides excellent repeatable torque accuracy. Learn more...
Cap-Rite
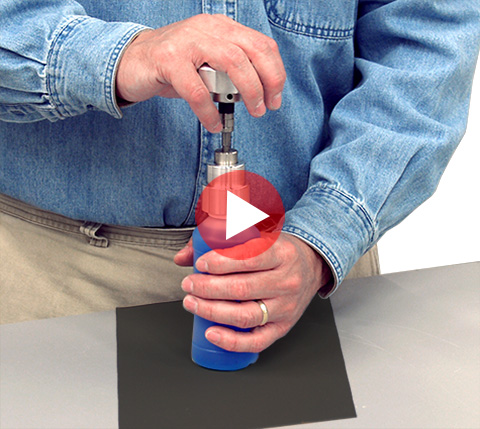
Manual Cap Tightener
A great choice for bottlers with small production runs. The application torque is factory set and locked to your specification. Learn more...
ES
Electric Bottle Capper
Provides excellent torque accuracy in a highly portable package that is easy to setup and use. Simply plug it into an electrical outlet and you are ready to start capping. Learn more...
